This article was made on router Draytek vigor 2950
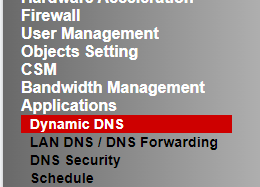
Step 1: Log in to the router device, in the left menu select Applications -> Dynamic DNS.
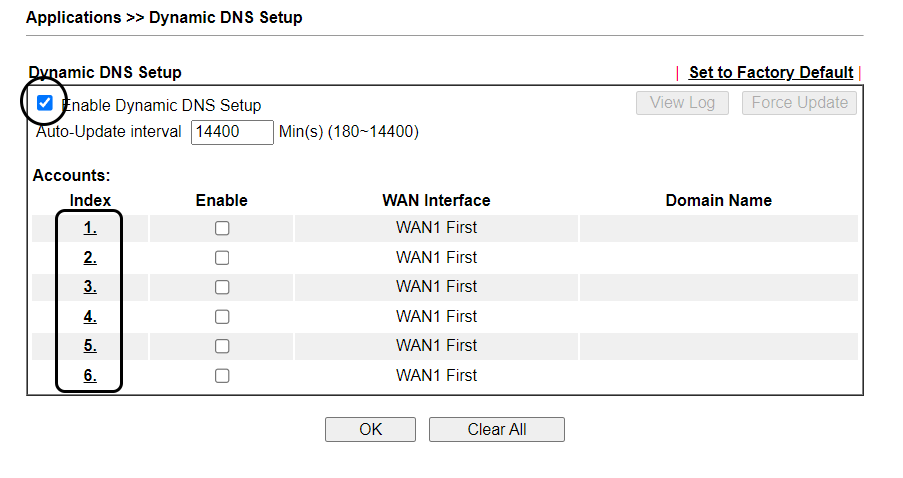
Step 2: on the DDNS settings information page.
- Check: Enable Dynamic DNS Setup
- In the Index column, select any 1 column
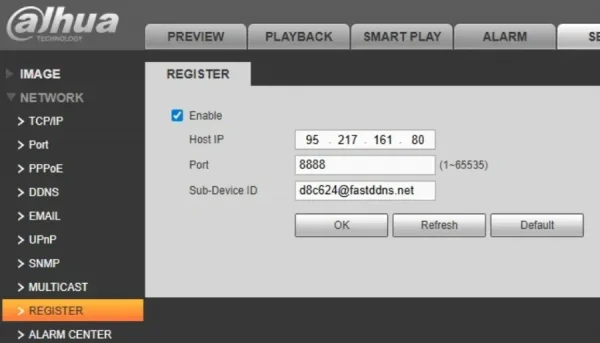
Step 3: Fill in the account information and settings provided from FASTDDNS.com
The installation information at fastddns.net has a sample as follows:
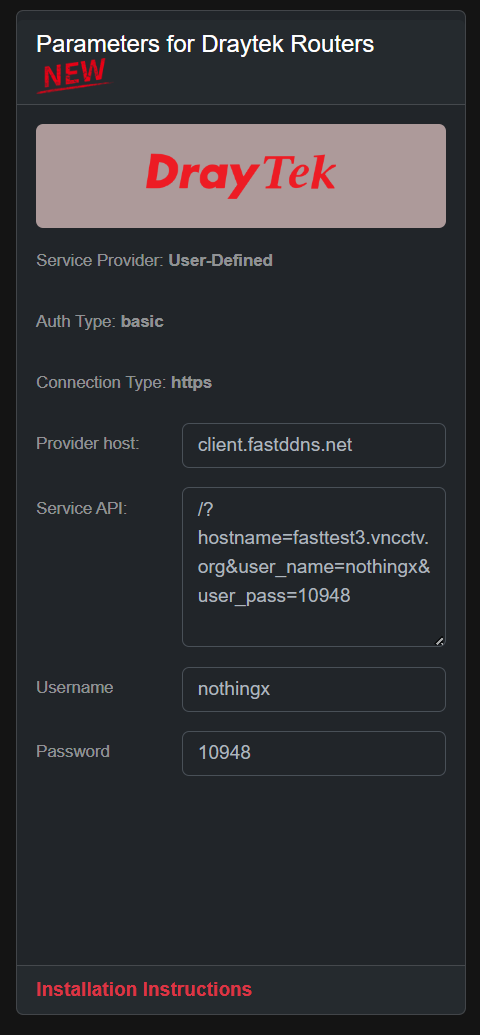
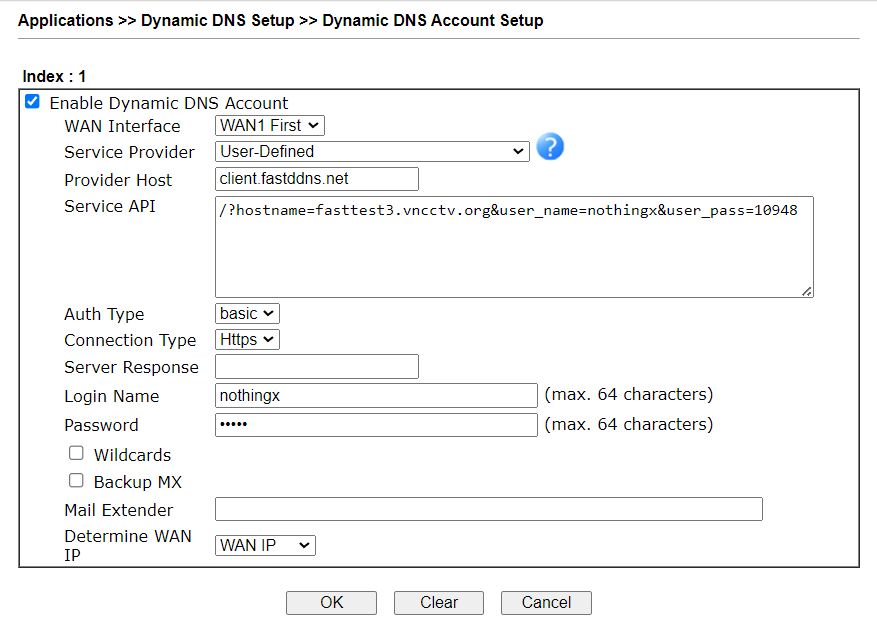
At the settings of the router, fill in the information according to the following steps:
- Check: Enable Dynamic DNS Account.
- Service Provider: Select User-Defined.
- Provider Host: Enter the address provided by Fastddns in the Provider host field
- Service API: Enter the parameters provided by Fastddns in the Service API section
- Auth Type : select basic.
- Connection Type: select HTTPS
- Server Response: leave blank
- Login Name: Enter username Fastddns
- Password: Enter host Fastddns password (Not login password fastddns.com)
- Determine WAN IP: select WAN IP
After filling in all the information, get OK to save.
The installation should resemble the sample as follows:
After saving, wait 2-5 minutes for the domain name to be updated to the IP address. Good luck.